How Can We Help?
Setting up your first project
Each website that you would like Twylu to crawl and provide internal link recommendations for is called a project.
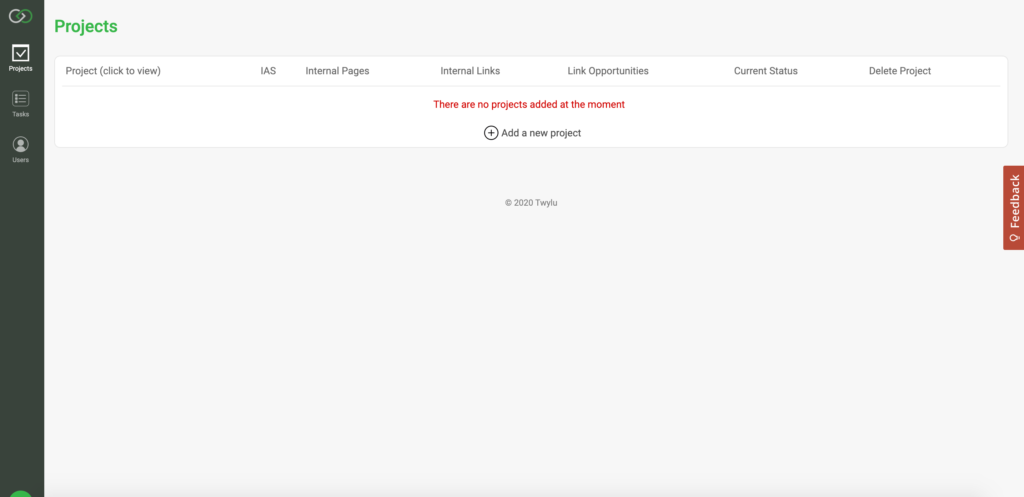
When you first sign up to Twylu, you will be taken to an empty projects screen.
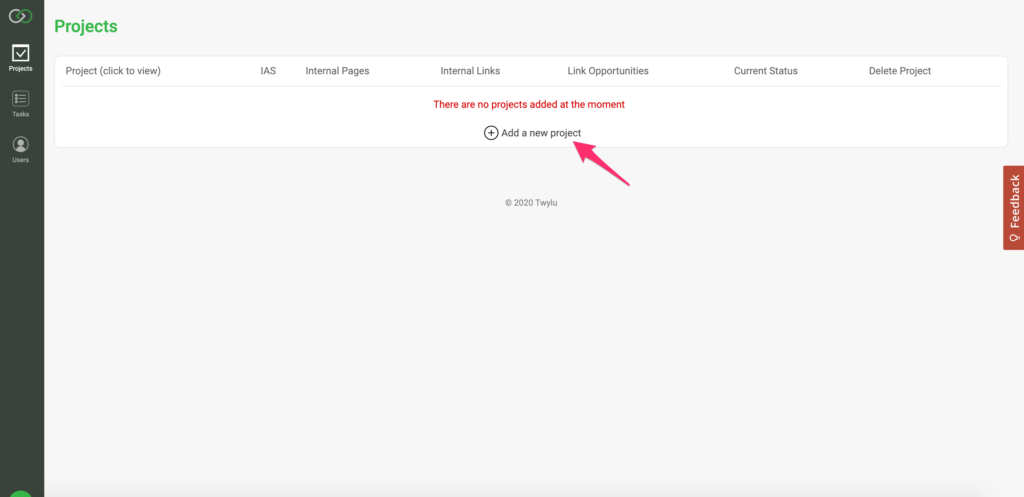
To setup a new project, you will need to go through a five step process. To get started select the “Add a New Project” button to open the project creation process.
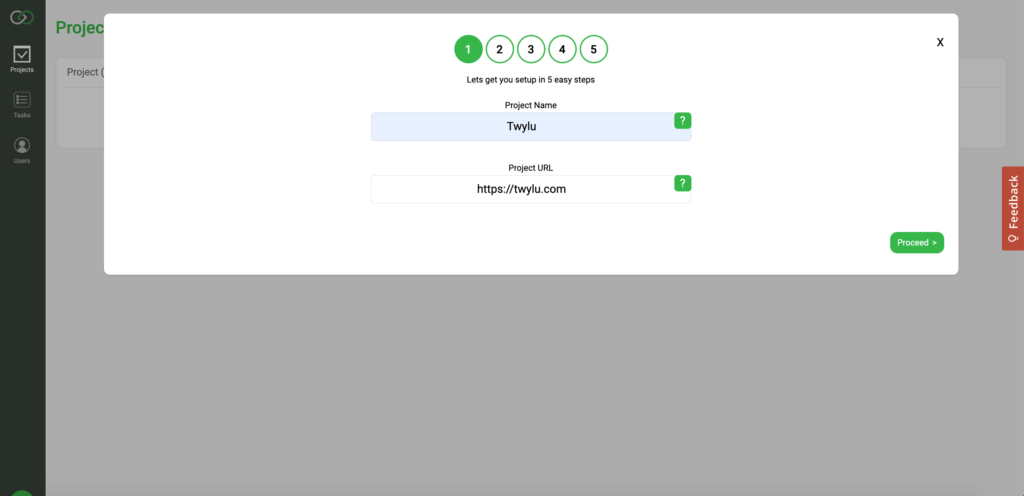
Step 1: Tell Twylu what project to create
The first step asks you to provide us with the Name of the project that you want to create and the URL.
The URL needs to include the protocol and WWW if is required.
Once you have entered the details required hit the “proceed button”
It is at this stage that we go and test your homepage to try and automatically identify your header and footer navigational links. This may take a minute or two, so please bear that in mind.
One thing to note, Twylu does not currently include subdomains in the crawl at present. If you want to crawl a subdomain, you need to create a second project.
Step 2: Identifying your header and footer links
Once Twylu has checked the website for the header and footer links it will return one of two options.
- It has identified links within the <header> and <footer> tags and you need to verify them by checking the screenshots provided.
- Or, it hasn’t identified the links as Twylu was unable to find a <header> and/or <footer> tag within the home page code.
1. Identified <header> and <footer> tag:
If Twylu has identified the header and footer tags, you will see your header and footer displayed with a screenshot.
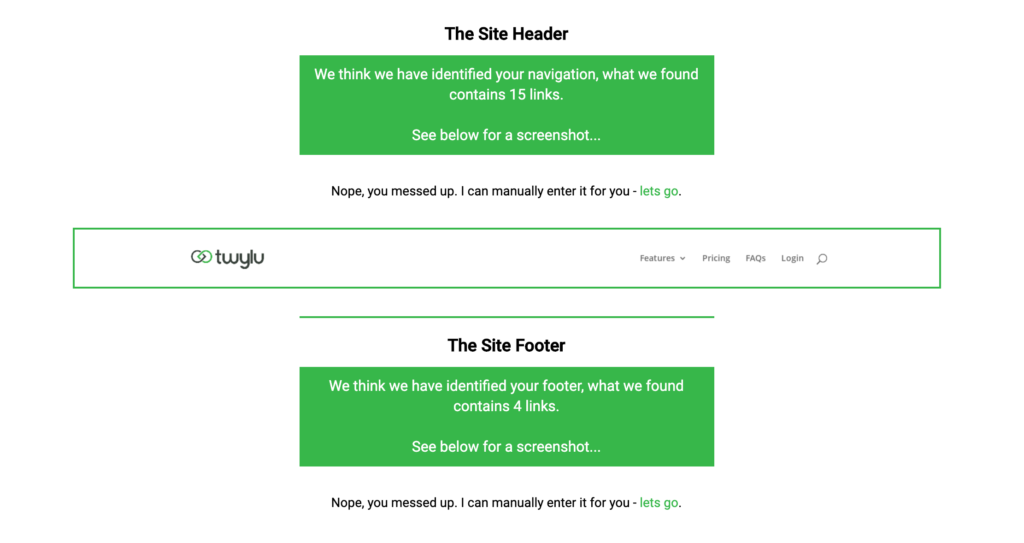
If you are happy that we have automatically identified your navigational links successfully then hit the “proceed button” in the bottom right corner and head to Step 3.
2. We haven’t identified your navigational links:
If we are unable to identify the <header> and <footer> tag, then we will need your help in identifying them and adding the CSS Selector tags to Twylu.
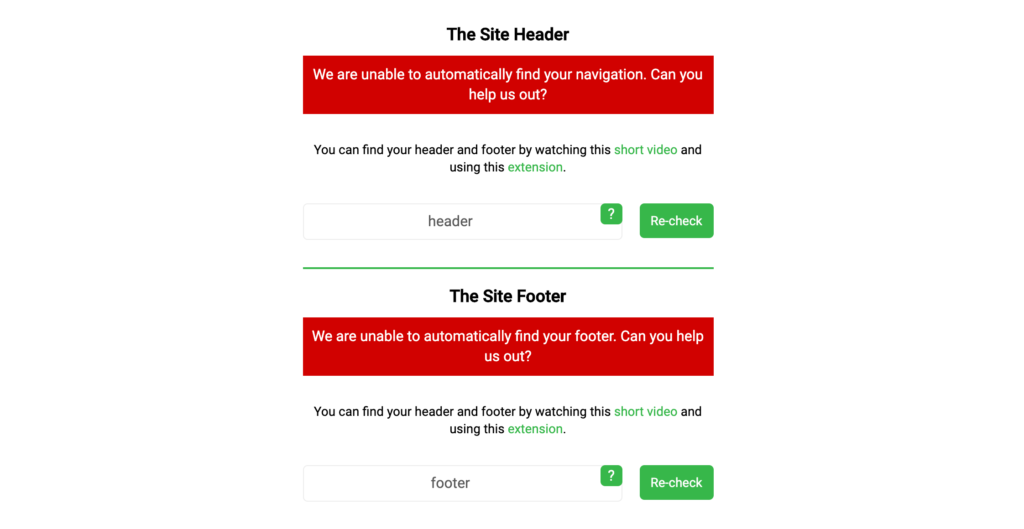
Please watch this video to help you identify the CSS Selectors – https://www.loom.com/share/eceddfcc8e974c10b80578002fda83e0
Once you have identified the CSS selectors add them to Twylu and hit the Re-check button.
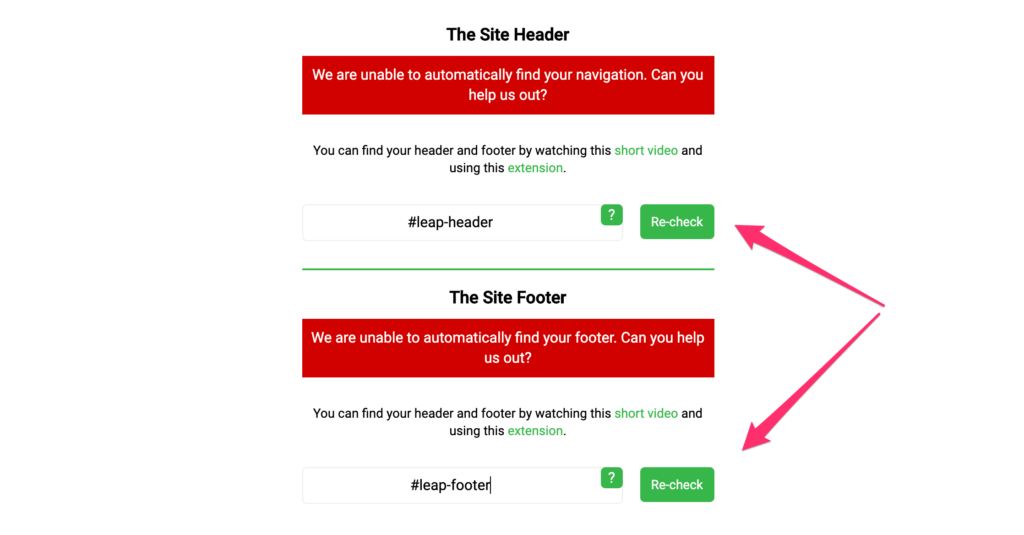
If you have entered the correct CSS Selectors then you will see green boxes indicating that we have found X number of links.
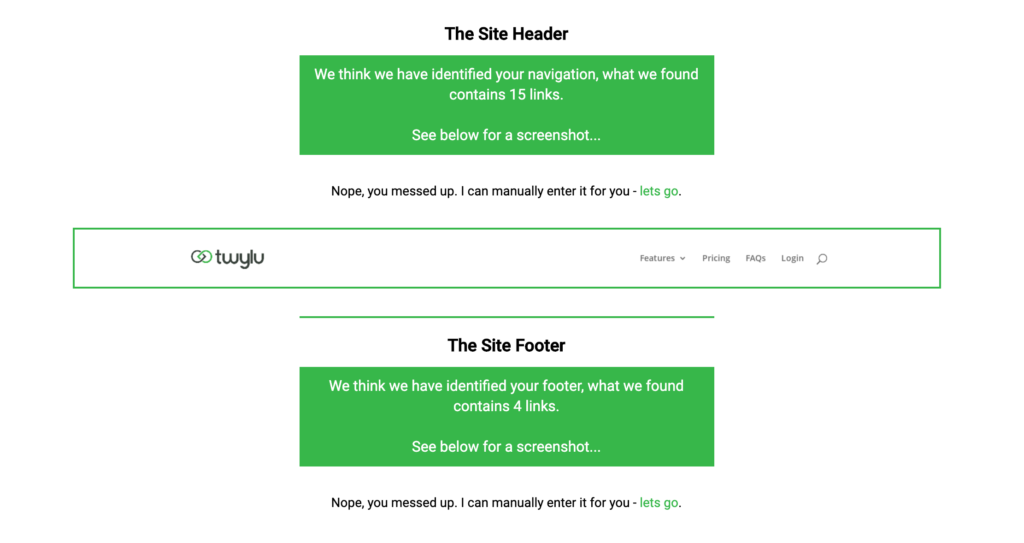
If you agree then hit the proceed button, otherwise you will need to revisit the CSS Selector video.
If you have issues with finding the CSS Selector, then feel free to reach out to support@twylu.com and we will help guide you through.
Step 3: Excluding Unnecessary URLs
We want to provide you the ability to exclude and include specific areas of your website, so step 3 provides you with the ability to do just that.
[VIDEO/IMAGE]
Twylu enables you to
- Include/Exclude
- Match type – Containing, Begins with, Ends with
- URL
An example of how this could work for a simple WordPress blog is shown below:
Exclude – Containing – /tag/
and
Exclude – Containing – /author/
You may also want to include pages such as Privacy, Terms and Conditions, HTML Sitemap and any other pages that you don’t feel you will want an internal link from.

Twylu will automatically respect the Robots.txt file, but if you don’t want this to happen then you will need to untick the “Respect robots.txt file” option.
Once you are happy that you have excluded the correct URLs for your project then select the “proceed” button in the bottom right hand corner.
Step 4: Setting up the Crawl
Now that you have set up where you want Twylu to crawl, we need to answer the following questions:
- Do you want Crawling Enabled
- Do you want to Remove Query Strings
- Do you want to Remove Hash
- Do you want to Render Javascript
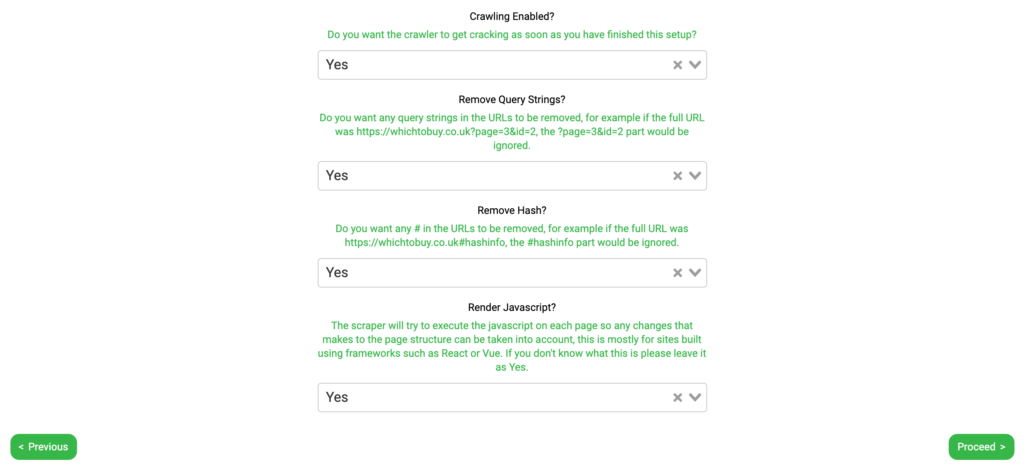
Crawling Enabled:
By leaving this option selected Yes, Twylu will start crawling the project once the setup is complete. If you change this to No, then Twylu will not start crawling the project even if you finish the project settings.
Selecting No is OK however, as you can edit these options within the Settings found in the overview tab for the specific project.
Remove Query Strings:
This option will automatically be selected “Yes” so that we do not crawl any query string URLs. These URLs commonly include:
- Pagination
- Faceted Navigation
If you want to crawl query strings found during our crawl then you need to select No. Common reasons why you might want to select No.
- Key URLs contain query strings
- Content changes based on query strings and therefore provide internal link opportunities
Remove Hash:
Some URLs include the hash (#) that you may not want to be crawled by Twylu. By selecting Yes, Twylu will not crawl these URLs, whereas if you select No, then Twylu will crawl these URLs.
An example – If you select Yes, and the full URL was https://twylu.com/#hashinfo, the #hashinfo part would be ignored.
Render Javascript:
Twylu has the ability to crawl your website and execute the JavaScript on each page so any changes made to the page structure can be taken into account, this is mostly for sites built using frameworks such as React or Vue.
By selecting Yes, Twylu will crawl your website with JavaScript rendering enabled. If you select No, then JavaScript rendering will be disabled.
If you don’t know what this is please leave it as Yes.
Once you have made your selections, you will need to click on proceed in the bottom right hand corner.
Step 5: Connecting GSC and Links
To enable Twylu to provide you with the most actionable information as soon as the crawl is finished, we strongly recommend that you upload your external links and connect your Google Search Console account.
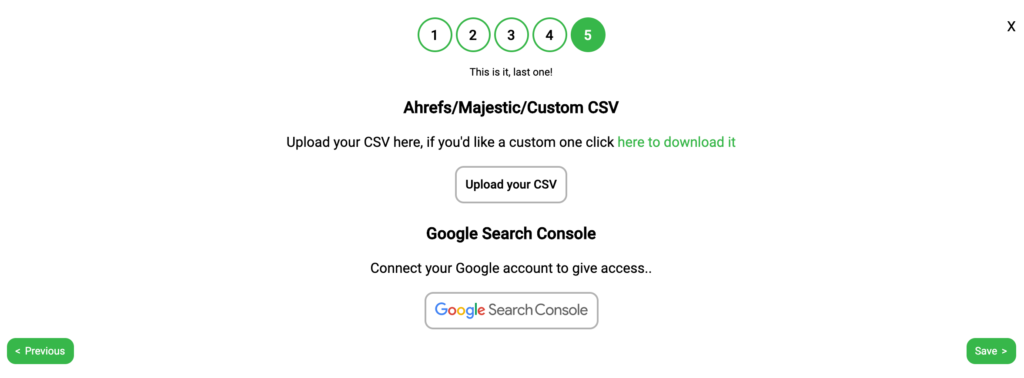
Uploading Links:
Twylu currently accepts links directly from aHrefs and Majestic exports, otherwise you will need to use our template CSV.
To find out how to get those links read this guide.
Once you have downloaded the links from aHrefs or Majestic, or you have used our template. Select the “Upload your CSV” button and drag and drop your file into the tool.
Connecting Google Search Console:
By connecting GSC, Twylu will be able to provide you with internal link opportunities straight away.
To connect your GSC account, click the Google Search Console button and follow the instructions to connect the correct URLs.
When connecting to Google Search Console, it could take a few minutes to connect, so you may need to be patient.
Now that you have completed the 5 steps, hit the “save” button in the bottom right hand corner.
This will add the project crawl to the queue. A crawl of your website will “take a little longer to complete than standard crawlers”.
Once your crawl has been completed we will send you an email to let you know.
